ServicesCeiling Repair
Ceiling Repair in Brooklyn
We repair cracked seams, sagging panels, water damage and nail pops in drywall and plaster ceilings. You get a written scope that names the cause, the fix and what sets the price before any compound goes on. The ceiling ends up flat, sealed and texture-matched.
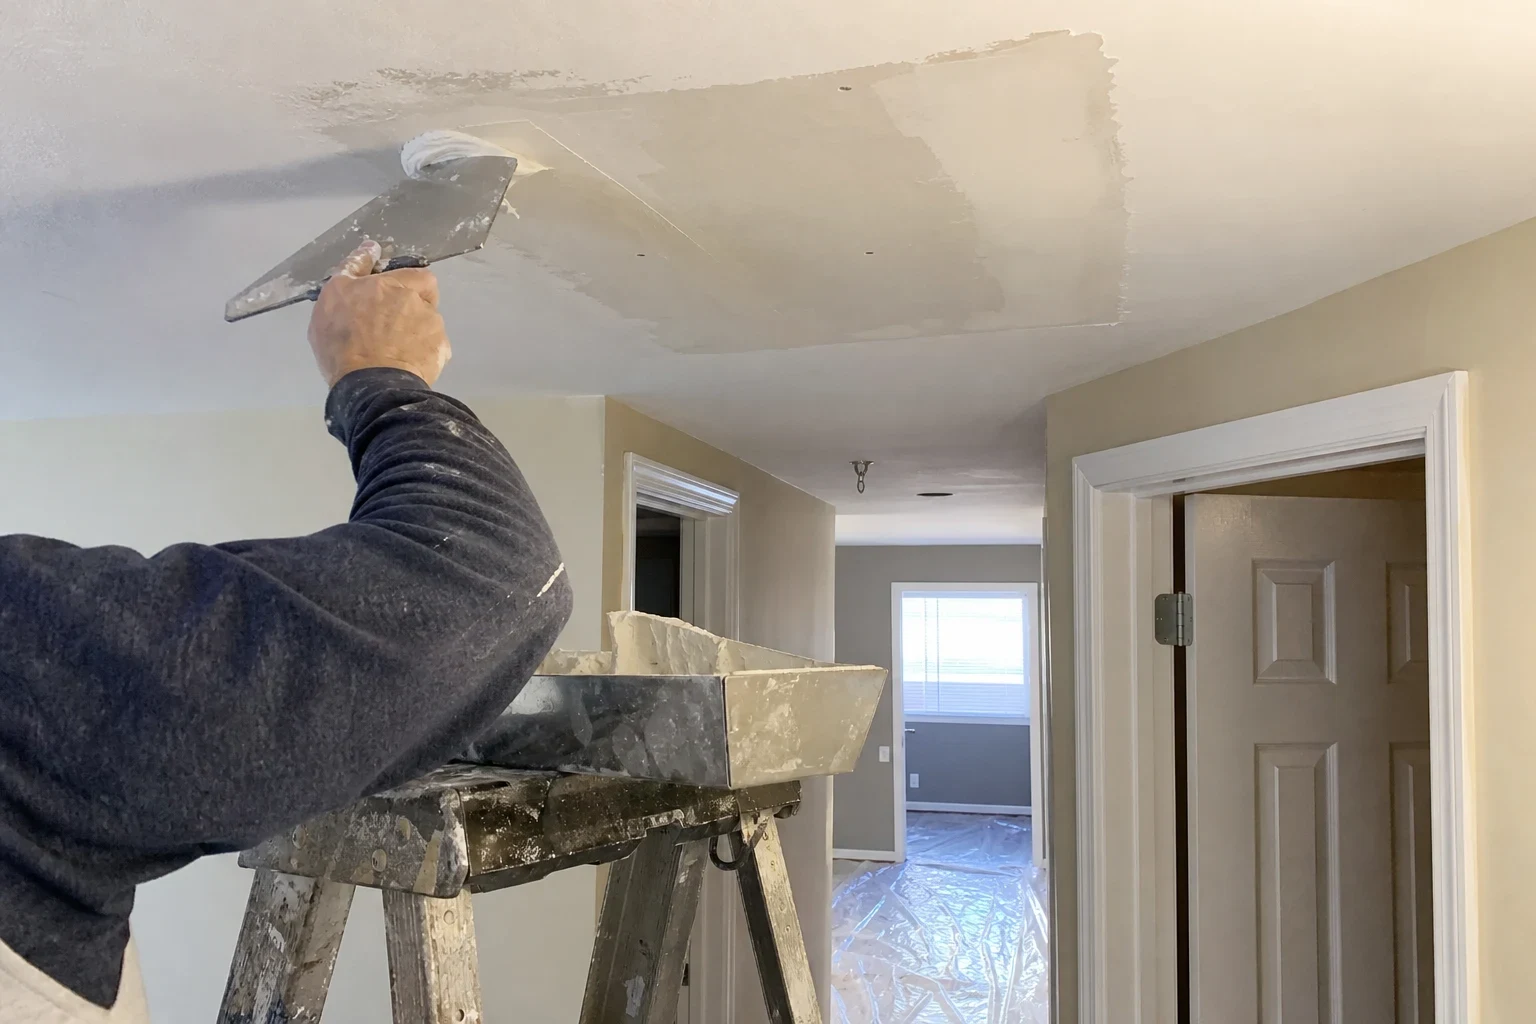
What ceiling repair covers and when it makes sense
Ceilings fail differently than walls. Gravity works on every panel and fastener, so a loose screw or a wet sheet shows up as a sag, a crack along a tape joint or a row of popped nails. Water from a tub, radiator or an upstairs unit soaks the gypsum core, and the board loses strength long before the stain dries.
Most damage can be repaired in place. We cut out the weak section back to sound board, refasten to the joists, tape and finish, then prime and match the surface. When a whole span has dropped or the paper face has delaminated across several sheets, replacing those sheets costs less than chasing patches, and we will tell you so.
Many older Brooklyn homes have plaster on wood lath overhead instead of drywall. We assess plaster too, reattach what can be saved and bridge the rest with drywall cut to the same thickness.
What the work includes
- Finding the cause first
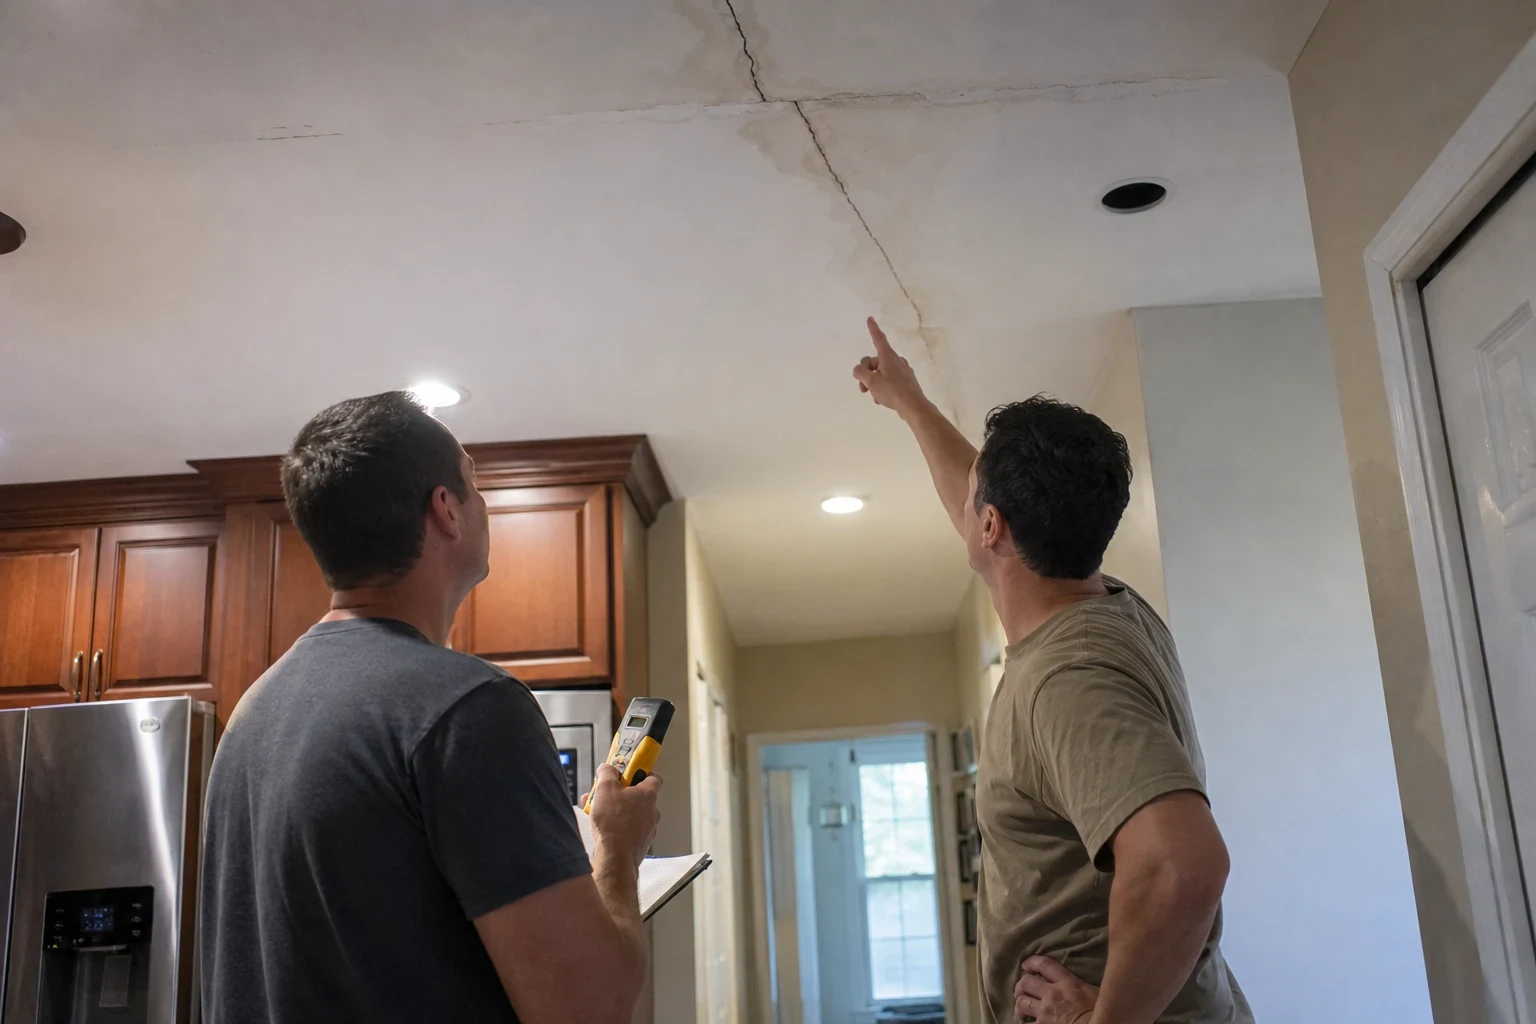
- We check whether a crack follows a tape seam, a joist line or runs diagonally, because each points to a different problem. We also note any active moisture with a meter so we do not close up a ceiling that is still wet.
- Cutting out damaged board
- Soft, stained or crumbling gypsum is cut back to solid material along the nearest joists. Wet insulation or debris above the opening is pointed out to you before we patch.
- Refastening and backing
- Loose sheets are pulled tight with drywall screws at the proper spacing. Where a patch edge falls between joists, we add wood backing so the seam will not flex and crack again.
- Taping and setting compound
- Ceiling seams get paper tape bedded in setting-type compound, which hardens chemically and shrinks less than premixed mud. Finish coats are feathered wide so the repair does not catch light from a window.
- Stain blocking and texture matching
- Water stains get a shellac or oil-based stain-blocking primer, since latex primer lets the brown ring bleed back through. We then match orange peel, knockdown or a smooth finish to the surrounding ceiling.
- Protection and cleanup
- Floors and furniture under the work are covered with drop cloths and plastic. We sand with dust control and leave a clean work area when we pack up.
Signs your ceiling needs repair
A sag or belly between joists
A ceiling that dips usually means the board absorbed water or the fasteners let go. Sagging drywall can tear free, so it should be looked at soon.
Brown rings or yellow stains
These mark water that has already passed through. Even a dry stain can hide softened gypsum and loose paper.
Cracks along a straight line
Long straight cracks usually follow a tape joint that has lost its bond. Repainting will not hold them closed.
Popped nails or screw heads
Small round bumps in a row show fasteners backing out as framing dries and shifts. Each one needs to be reset and refinished.
Bubbling or peeling paint overhead
Blistered paint often traps moisture against the paper face, and the board under it may be delaminating.
What Sets the Cost of a Ceiling Repair
Working overhead from ladders or scaffolding, with every coat pulling against gravity, makes ceiling work cost more per square foot than walls. Our price comes from what the inspection shows, with each factor written down. If opening the ceiling changes the scope, we pause and show you before continuing.
How much area is damaged
A single stain beside a light fixture is a quick fix. Multiple damaged spots, or a crack that crosses the whole room, take more board, more tape and more trips.
Height and room access
High prewar ceilings and stairwells call for taller ladders or rolling scaffolds. Rooms full of belongings take longer to clear and protect.
Plaster or drywall overhead
Plaster on lath needs added steps to reattach it and bring new material level with it. Any difference in thickness must be shimmed or built up.
Finish and texture
Smooth ceilings in bright window light take extra finish coats and sanding. Popcorn and knockdown textures have to be matched by hand.
The Steps of a Ceiling Repair
- 1
Call and tell us what you see
Describe the damage, where it sits and whether a leak caused it. Photos let us bring the correct board thickness and compound.
- 2
Inspection, then a written quote
We examine the ceiling, check it for moisture and explain what caused the damage. Your written quote covers the area to cut out, materials, visit count and anything that could move the price, and nothing is added later unless you approve it.
- 3
Repair, then drying
After protecting the room, we remove and replace damaged board, tape it and apply compound. Since every coat must cure before sanding, most ceiling repairs take two or three visits.
- 4
Sand, prime and blend
We sand the patch flat, prime it and texture it to match the ceiling around it. If you still have the original paint, a touch-up on the repaired spot can be added.
Ceiling repair questions
Can you repair a ceiling right after a leak?
We can inspect it right away, but we will not close it up until the board and framing read dry on a moisture meter. Sealing wet material traps moisture and the stain or sag comes back. The leak source itself has to be fixed by the right trade before we finish.
Will the repair show once it is done?
Our goal is a repair you cannot pick out from normal viewing distance. We feather the compound wide, prime with a stain blocker and match the existing texture. Smooth ceilings lit by low-angle sunlight are the hardest, which is why we explain the finish level in the quote.
My ceiling has popcorn texture. Can you match it?
Yes, we match popcorn, knockdown and orange peel textures. In homes built before the 1980s, popcorn texture can contain asbestos, so we ask that it be tested before we cut into it. If the test comes back positive, an asbestos abatement contractor has to remove the affected material before we start our repair.
Do I need to replace the whole ceiling?
Usually not. Most damage is local and can be cut out and patched. Replacement makes sense when several sheets are sagging or the plaster has lost its grip on the lath across most of the room, and we explain that choice in writing with both options.
How long will the room be out of use?
Plan on the room being partly covered for two to four days, since compound and primer need curing time between visits. The space under the repair is the only part we need clear, and we leave it clean at the end of each day.
Get your ceiling looked at and priced in writing
Tell us what is happening overhead and we will set up an inspection. You will know the cause, the fix and the price before work begins.