ServicesPaint Prep
Wall Prep for Painting in Brooklyn
Fresh paint shows every flaw underneath it. Before your rooms get painted, we repair the drywall and plaster, sand and prime the surface, and touch up paint over our repairs. You get the full scope and the pricing factors in writing before any work starts.
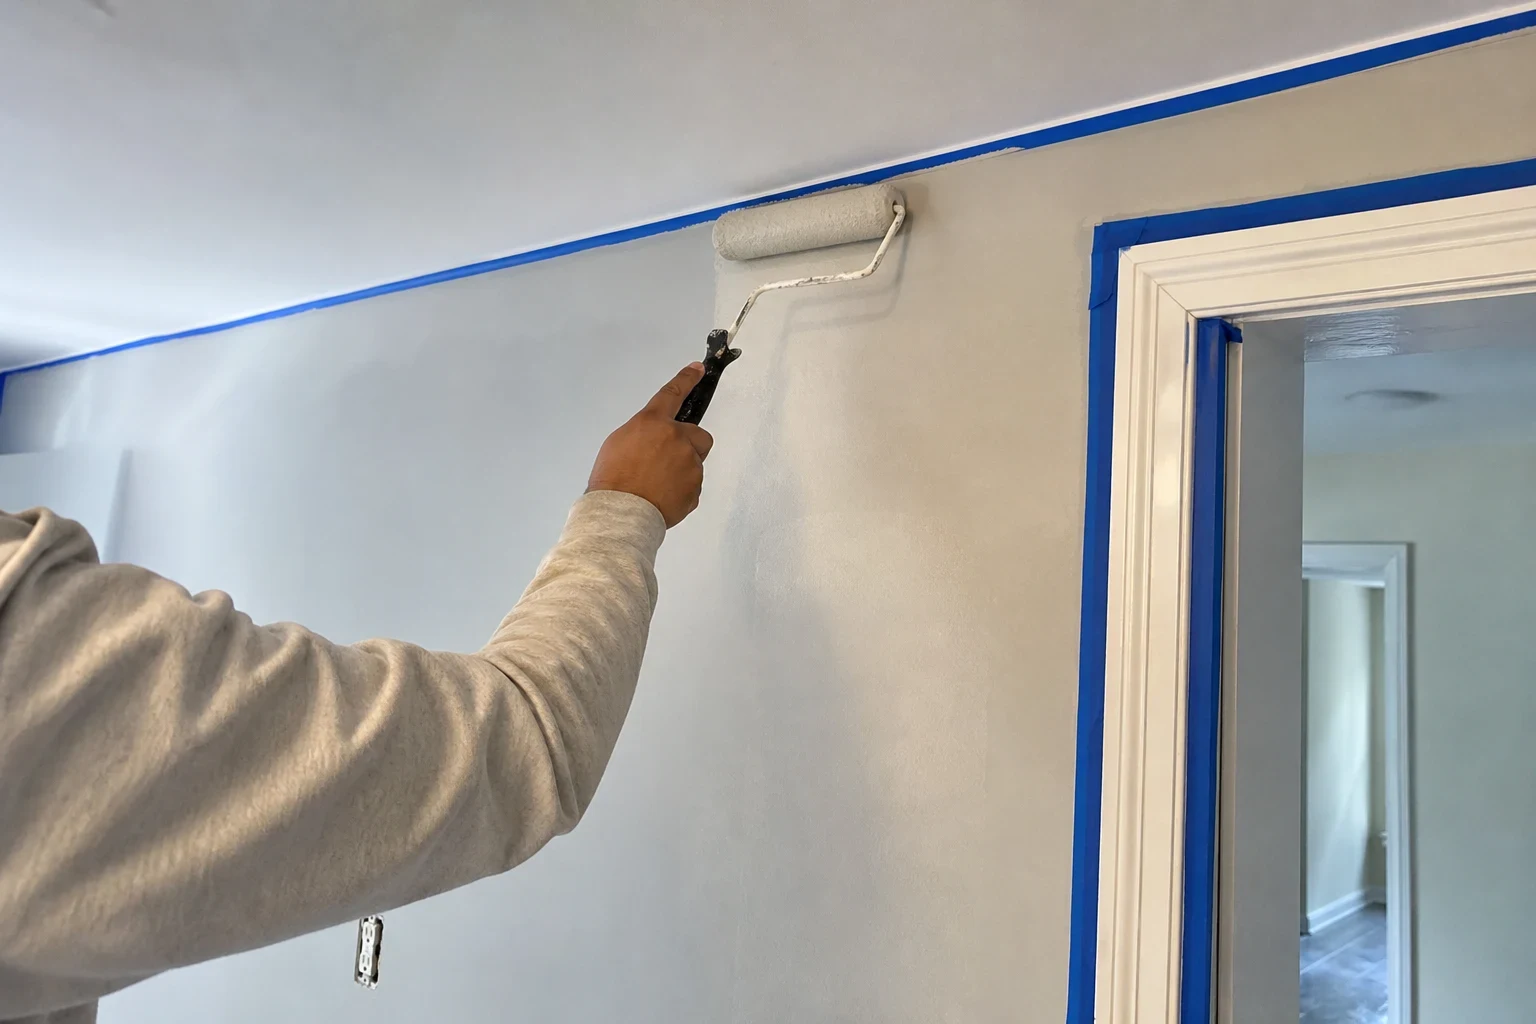
Walls ready for paint, not just painted over
Paint is thin. An eggshell or satin finish sits a few thousandths of an inch over the wall, and under raking light from a window it shows every ridge of joint compound, every popped screw and every patch that was never primed. Most paint jobs that look bad a month later failed at the surface, not in the can.
Our work is that surface. We fix cracks and holes, skim rough areas, sand to an even profile and prime bare compound so it does not show through the topcoat. We do not repaint whole rooms. We leave walls that you or your painter can roll out in an even pass, and we touch up existing paint over the spots we repaired.
Before anything begins you get a written scope listing each wall and ceiling, the repair method for each problem and what drives the price. If we open a crack and find loose material behind it, we stop, show you, and put the change in writing before going further.
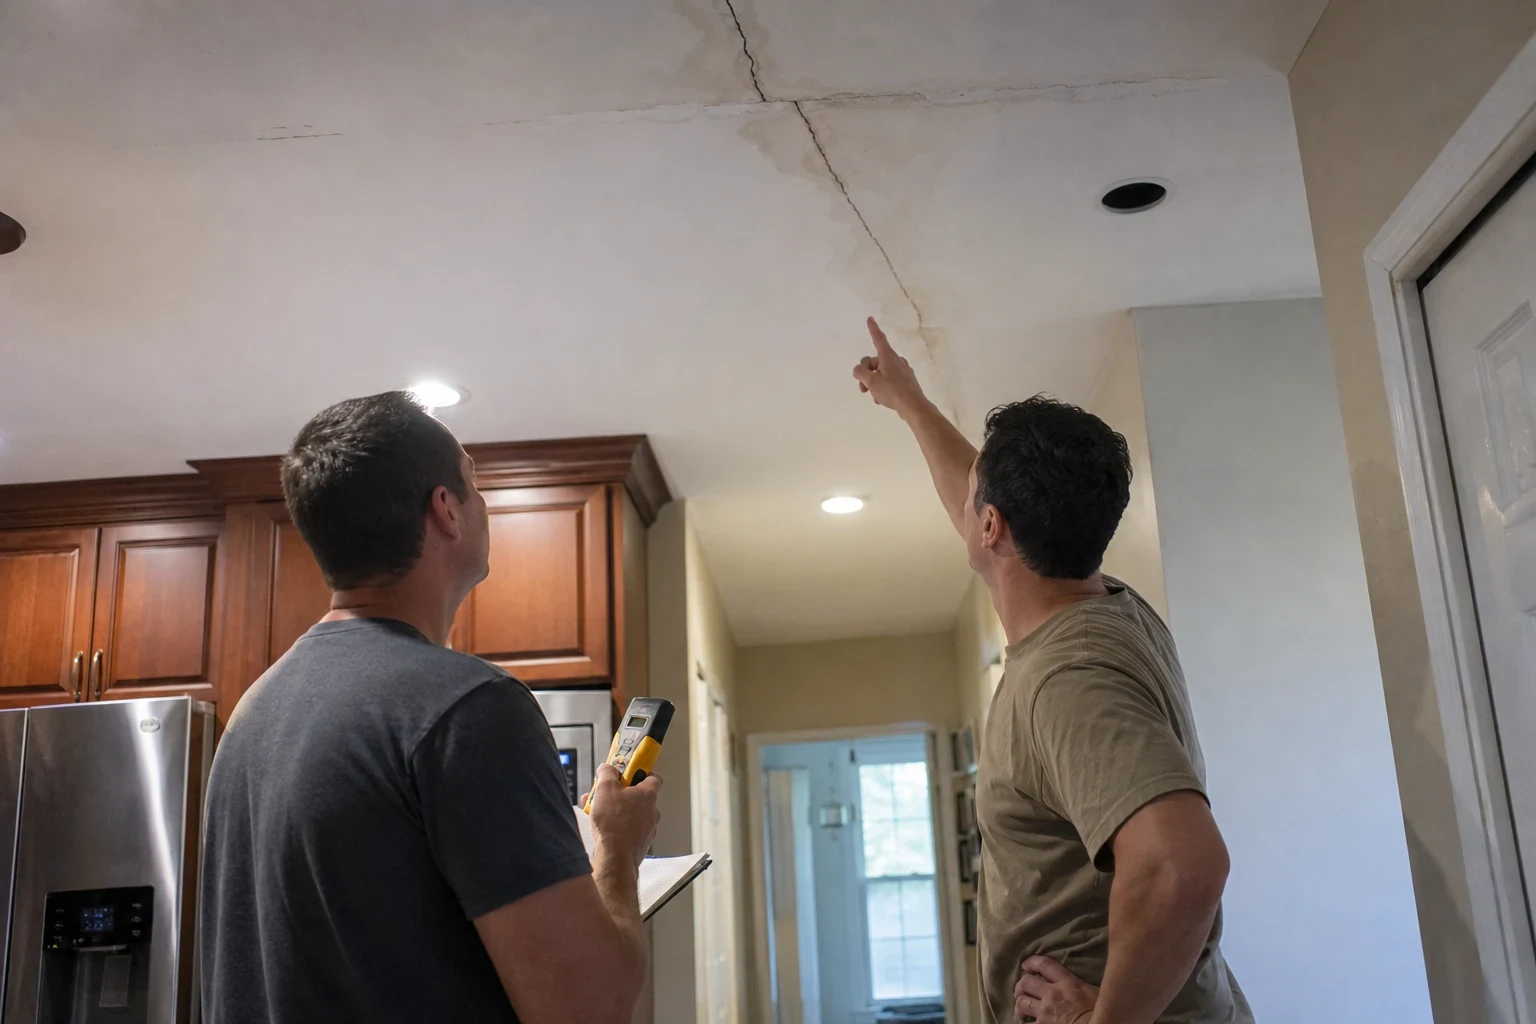
What the prep work includes
- 01
Fixing cracks and holes
Fine cracks are opened a little, taped with paper or mesh and filled with setting-type compound, which cures harder and shrinks less than premixed mud. Anchor holes and doorknob dents get a fill or a backed patch sized to the damage.
- 02
Failed seams and nail pops
Each popped fastener gets a new drywall screw beside it and is spotted in three thin coats. Tape joints that are bubbled or ridged are cut out and taped again so the seam won't show through the new color.
- 03
Skim coats on rough walls
Walls damaged by wallpaper removal, old scraping or layers of patches get a thin skim of compound to flatten them. Any torn brown paper facing is sealed first with shellac or oil-based primer, since water-based mud makes it blister.
- 04
Sanding that keeps dust down
We sand with fine-grit screens, and with a vacuum-attached sander where there is room. Every repair is checked with a work light laid flat to the wall, which casts shadows on ridges the eye would miss.
- 05
Primer over bare compound
Bare paper and joint compound absorb paint faster than a painted wall, which leaves dull spots called flashing. Priming every repair evens that out.
- 06
Touch-up paint over repairs
With the original paint, or its color name and sheen, we touch up the repaired spots so the wall looks like one surface. That work also has its own Paint Touch-Ups page.
Questions about Paint Prep?
Call(718) 571-8361Signs your walls need work before new paint
Old patches show through
A dull halo or a raised outline around a past repair means the patch was never primed or feathered wide enough. Another coat of paint will not hide it.
Cracks keep coming back
Cracks that return at the corners of doors and windows usually mean the old fill was premixed compound with no tape. Dry winter radiator heat makes that seasonal movement worse, so these need tape and setting compound.
Glossy old finish
Paint will not grip semi-gloss or oil-based enamel without scuff sanding and a bonding primer. Skip that step and the new coat can peel off in sheets.
Wallpaper residue
Leftover adhesive reactivates under water-based paint and causes cracking or wrinkling. The wall has to be washed, sealed and often skimmed first.
Peeling at seams or corners
Paint lifting along a tape joint often points to loose tape underneath. We cut it back to sound material before refinishing.
How a prep day runs
- 1
Walkthrough and written scope
We look at every wall and ceiling in the room under good light and mark each defect. You get a written scope with the method for each repair before work is scheduled.
- 2
Protect the room
Floors get drop cloths, furniture is covered in plastic and the doorway is sealed when there will be heavy sanding. Outlet covers and switch plates come off and are set aside.
- 3
Repair and fill
Setting compound lets us apply more than one coat in a day. Deep fills and skim coats may need to dry overnight, and the scope says how many visits to expect.
- 4
Sand, inspect and prime
Each repair is sanded smooth, checked with a raking light and primed. Spots that still show a shadow get another thin coat before primer.
- 5
Touch up and clean up
We touch up paint over the repairs where you supply the color, reinstall the plates, vacuum and leave a clean work area.
What moves the price
The price depends on how much the surface needs, not on a flat rate per room. Your written quote lists each factor below as it applies to your walls, so nothing is added later without your sign-off.
- Number and size of repairs
- Ten anchor holes take far less time than a cracked ceiling seam or a fist-sized hole that needs a backed patch.
- Spot repair or full skim
- Isolated defects are spotted and feathered. A wall with damage across most of its face is often cheaper to skim once than to patch fifty times.
- Plaster or drywall
- Older plaster walls may need bonding agent, loose material removed and deeper fills, which adds labor compared with drywall.
- Height and access
- High ceilings, stairwells and rooms full of furniture add setup time and staging.
- Drying time and visits
- Deep fills that need overnight drying mean a return trip, which is listed in the quote.
Questions about getting walls ready for paint
Will you paint the entire room?
No. We do the repairs, sanding, priming and paint touch-ups over what we fixed. The walls are then ready for the full coat, done by you or by a painter you bring in.
My paint is a paint-and-primer product. Do patches still need primer?
Yes. Those products are meant for surfaces that are already painted. Bare joint compound absorbs much more and will flash through, so every repair gets a separate primer.
How long after you finish can we paint?
Normally the following day, after the primer cures. Deep fills or a full skim coat may take longer, and the written scope will say so.
Do you work on plaster walls?
Yes. Loose plaster is cut back, a bonding agent goes on and we fill with setting compound, then tape any active cracks so the new paint doesn't crack along them.
Can the price go up once you start?
Only when we uncover something the walkthrough couldn't reveal, like loose material behind a crack. We pause, show it to you and put the change in writing before carrying on.
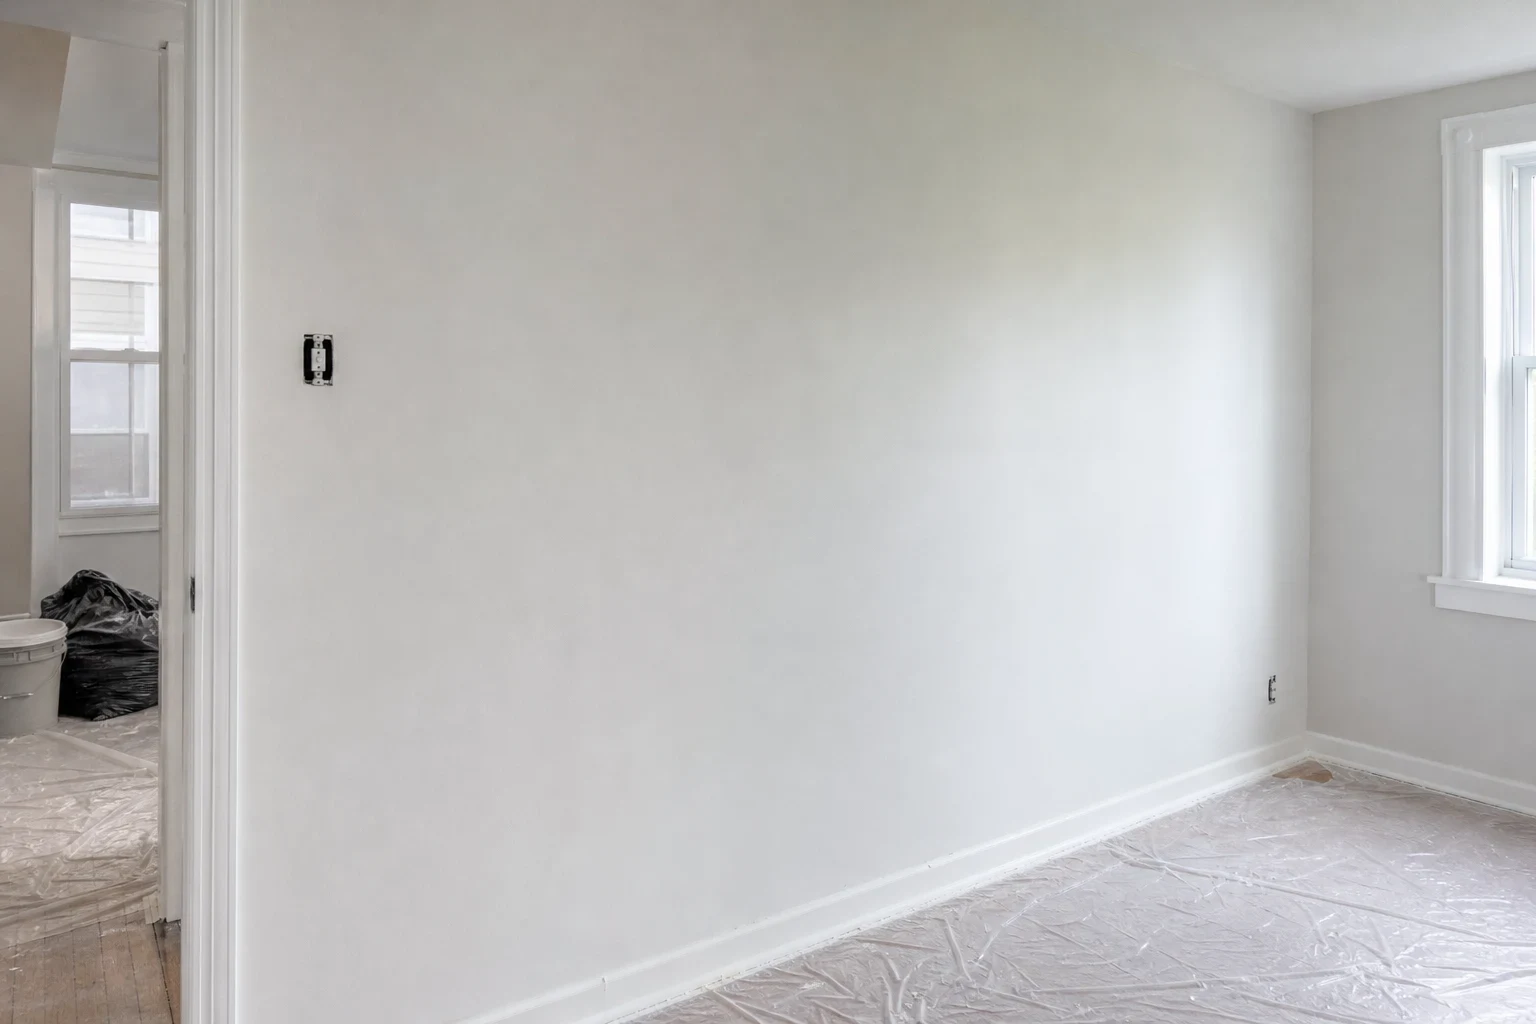
See the scope before the paint goes on
Let us know which rooms are getting painted and how the walls look today. We will book a walkthrough and write down every repair and price factor.