ServicesSurface Prep and Sanding
Surface Preparation and Sanding in Brooklyn
Paint shows every flaw underneath it. We fill gouges, fix nail pops, skim coat rough areas, spot prime and sand walls and ceilings flat, so the finish coat goes on even. Before we start, you get a written scope that lists each step and what drives the price.
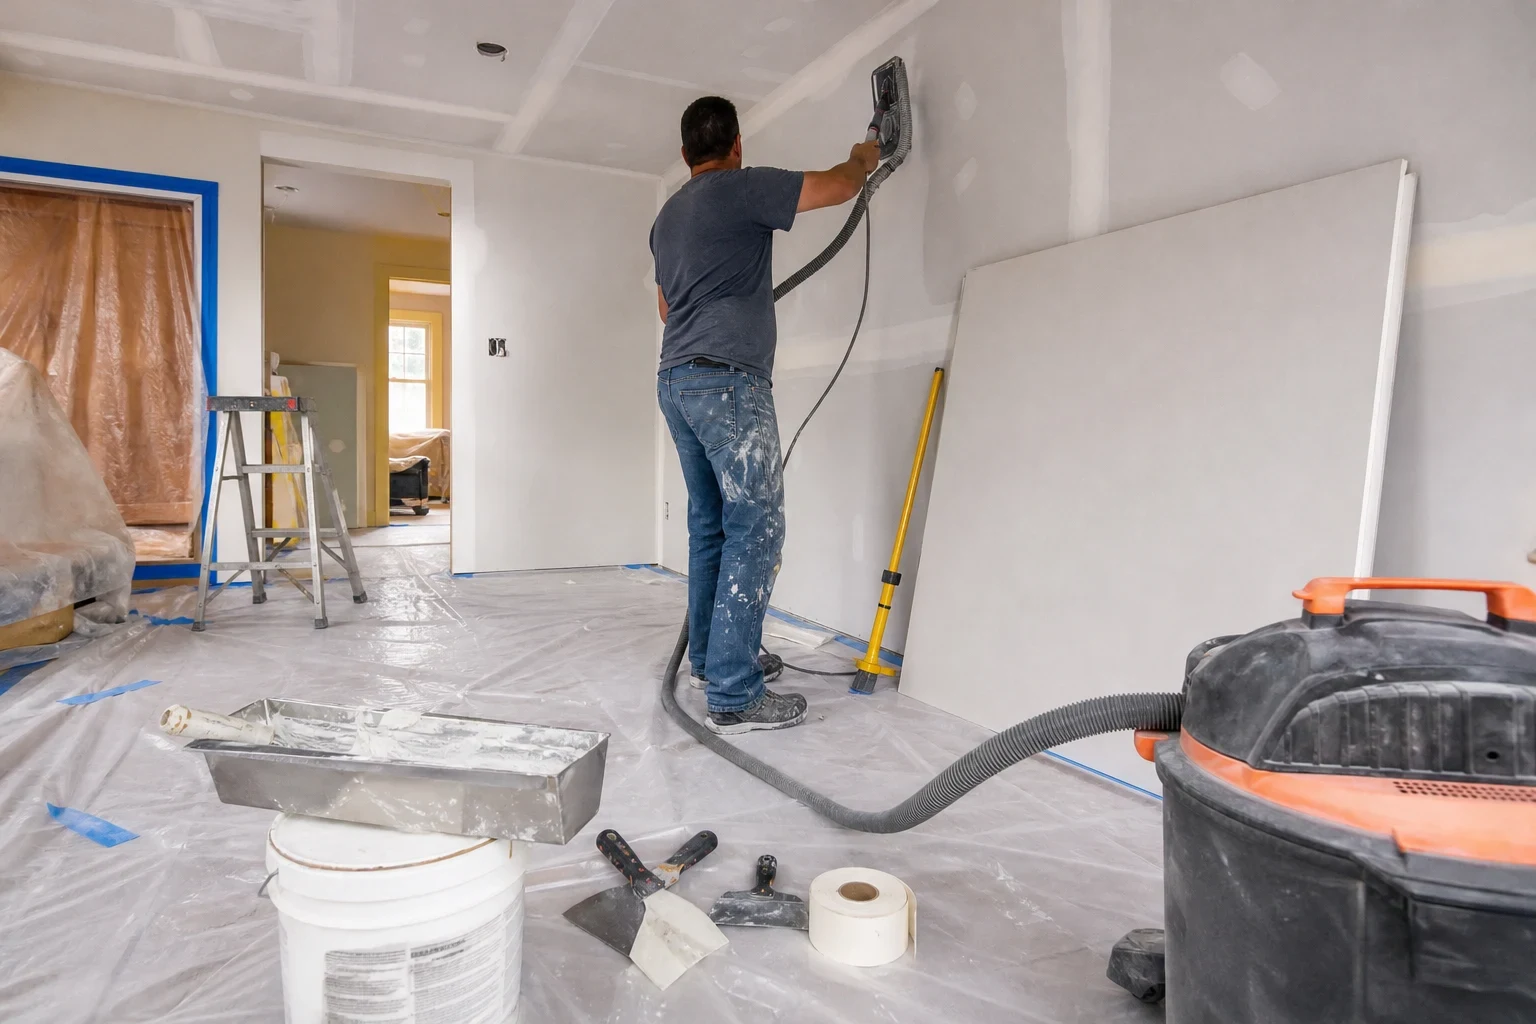
What Surface Prep Actually Fixes
Most bad paint jobs are prep failures. Joint compound left proud of the wall, a patch that was never feathered out, or old gloss paint that was never scuffed will all telegraph through new paint as ridges, halos and dull spots. Surface preparation is the work between a damaged or worn wall and a paint-ready one.
We read the wall under a raking light, mark every defect, then correct each one with the right material: setting-type compound for deep fills, lightweight topping for skim coats, shellac or oil-based primer over water stains, and a bonding primer over glossy finishes. Sanding comes last, with fine-grit screens and vacuum-attached sanders so the dust stays contained.
This is the right call before a repaint, after drywall patching or wall repair, or when a previous finish was rushed. If the board itself is cracked, soft or water-damaged, we will tell you that drywall repair is the better fix rather than sanding over a problem.
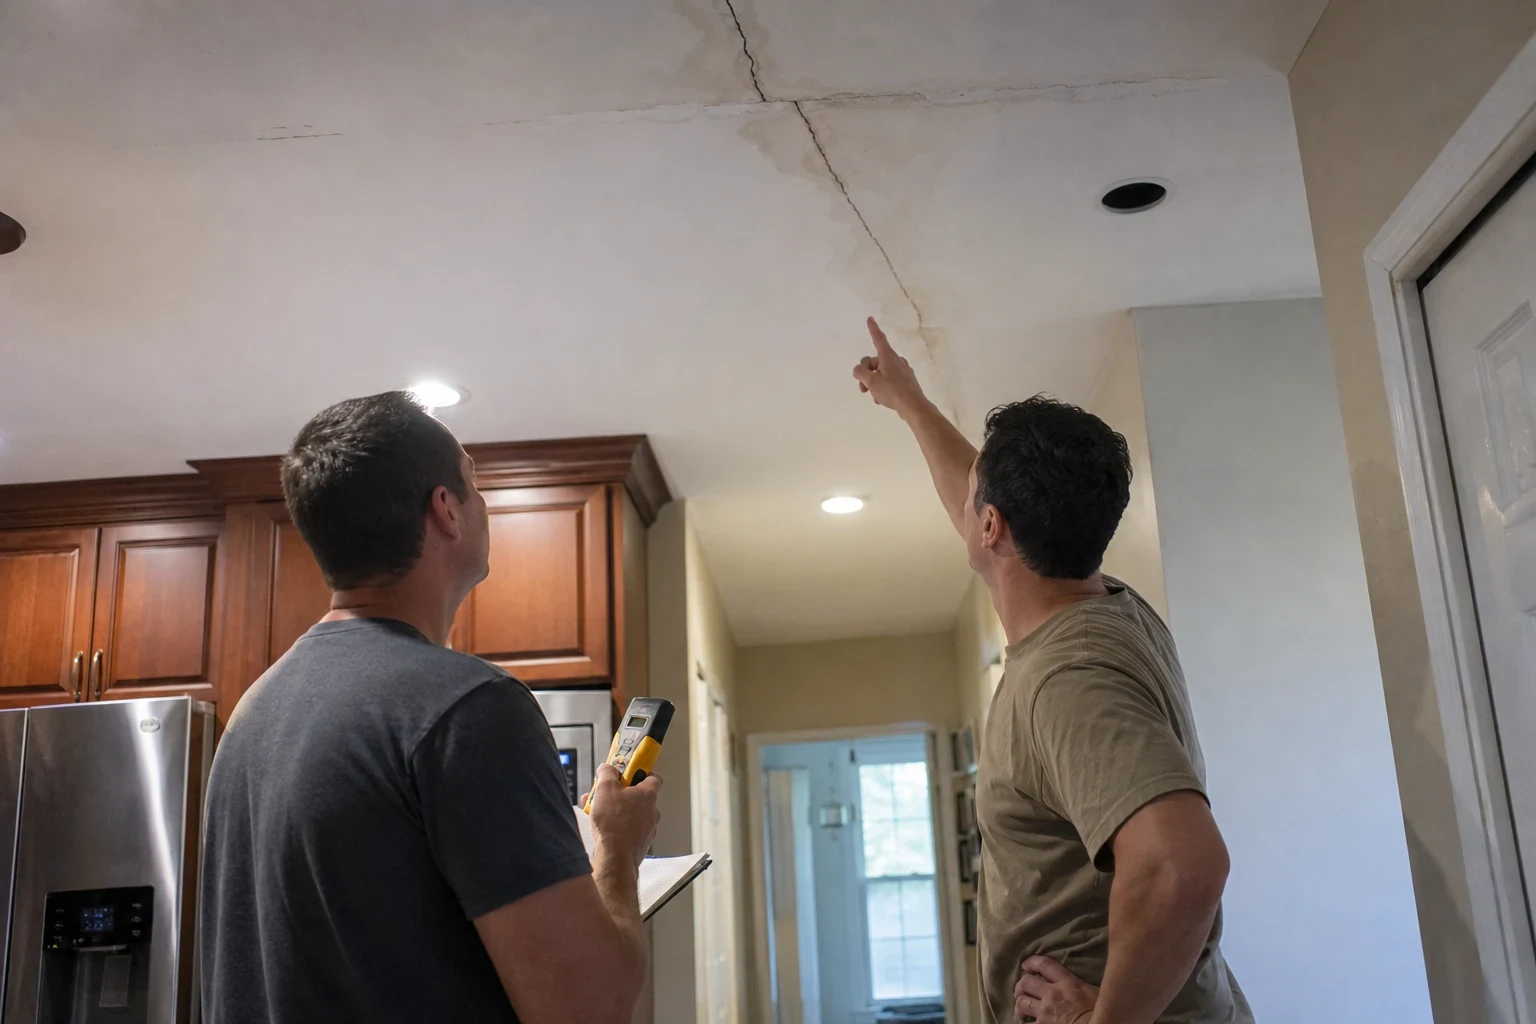
What Our Prep and Sanding Work Includes
- 01
Raking-light inspection
We hold a work light flat against the surface to throw shadows across every ridge and dip. Each defect gets marked in pencil so nothing is missed and you can see what we found.
- 02
Fills and nail pop fixes
Popped fasteners get reset with a drywall screw beside them, then covered. Gouges, anchor holes and dents are filled with setting compound, which shrinks less than premixed mud in deep spots.
- 03
Skim coating
Where a wall has torn paper, old roller texture or many small repairs, we apply thin coats of topping compound across the whole area. This gives one uniform surface instead of a patchwork of fills.
- 04
Spot priming and sealing
Torn drywall face paper is sealed with a shellac-based primer so it does not bubble under compound. Water stains and smoke marks get a stain-blocking primer, and fresh compound gets a primer-sealer so paint absorbs evenly.
- 05
Dust-controlled sanding
We sand with 120 to 220 grit screens and sponges, using a sander connected to a HEPA vacuum where the area allows. Floors are covered, doorways are sheeted and the room is vacuumed at the end.
Questions about Surface Prep and Sanding?
Call(718) 571-8361Signs Your Walls Need Prep Before Paint
Flashing after painting
Patches look duller or shinier than the wall around them. That happens when fresh compound was painted without a primer and soaked up the paint differently.
Visible tape seams
You can see straight lines or raised edges where sheets of drywall meet. The joints were under-feathered or the tape has started to lift.
Rough or bumpy texture
Dried drips, roller lint and grit trapped in old paint leave a sandpaper feel. New paint will lock those bumps in place.
Peeling or bubbling paint
Paint lifting off the wall usually means poor adhesion, often latex applied over gloss or oil without a bonding coat. In prewar rowhouses and brownstones this is common where layers of old enamel sit underneath.
Small dimples in rows
Evenly spaced bumps or dents along a stud line are nail pops. The fastener has backed out as framing dried and shifted.
How a Prep and Sanding Job Runs
- 1
Walkthrough and written scope
We inspect the rooms with you, mark defects and ask what finish you plan to apply. You then receive a written scope listing each wall, the work on it and the factors behind the price, so there are no add-ons later.
- 2
Protect the room
We lay floor protection, sheet off doorways and cover vents and outlets. Furniture you cannot move gets wrapped in plastic.
- 3
Fill, skim and prime
Repairs are made in thin layers with drying time between coats. Rushing compound causes shrinkage and cracking, so a skim coat job usually spans more than one visit.
- 4
Sand, check and clean
After final sanding we recheck every surface under the raking light and touch up anything that shows. The room is vacuumed and wiped down, and the surface is left ready for paint or for our paint touch-up service.
What Moves the Price of Surface Prep
Prep pricing depends on how much correction the surface needs, not just its size. A wall with a few anchor holes is a short job, while a ceiling with years of layered paint is a different scope. Your written quote names the factors that apply to your rooms before any work begins.
- Surface condition
- Spot fills cost far less than a full skim coat. The number of defects and how deep they go set most of the labor.
- Square footage and height
- Larger rooms take more material and time. Tall ceilings and stairwells need ladders or planks, which slows the work.
- Existing paint
- Glossy or oil-based layers need scuff sanding and a bonding primer. Paint in older buildings may need lead testing before any sanding is done.
- Drying time and visits
- Multiple coats of compound mean return trips. Humid weather slows drying and can add a visit.
Surface Prep and Sanding Questions
How much dust will sanding make in my apartment?
Some dust is unavoidable, but we keep it to the work area. We sheet doorways, cover floors and vents, and use a sander attached to a HEPA vacuum where the space allows. We vacuum and wipe surfaces before we leave.
Do I need a full skim coat or just spot repairs?
It depends on how many defects there are and how close together they sit. A few scattered holes can be filled and feathered. When repairs cover a large share of the wall, a skim coat gives a more even result, and we explain which one we recommend and why in the written scope.
My building is over 100 years old. Is sanding safe?
Paint applied before 1978 may contain lead, and sanding it creates hazardous dust. Before we sand old paint, we ask for test results or recommend testing. If lead is present, we tell you before going further and explain how that changes the scope.
How long before the walls can be painted?
Once the final coat of compound is dry, sanded and primed, the surface is ready. For spot repairs that can be the next day. Skim coats need more drying time between coats, so we give you the expected timeline with your quote.
Can you prep a ceiling, too?
Yes. Ceilings get the same inspection, fill, prime and sand steps, with extra floor protection since everything falls down. If the ceiling has sagging or water damage, our ceiling repair service is the right starting point.
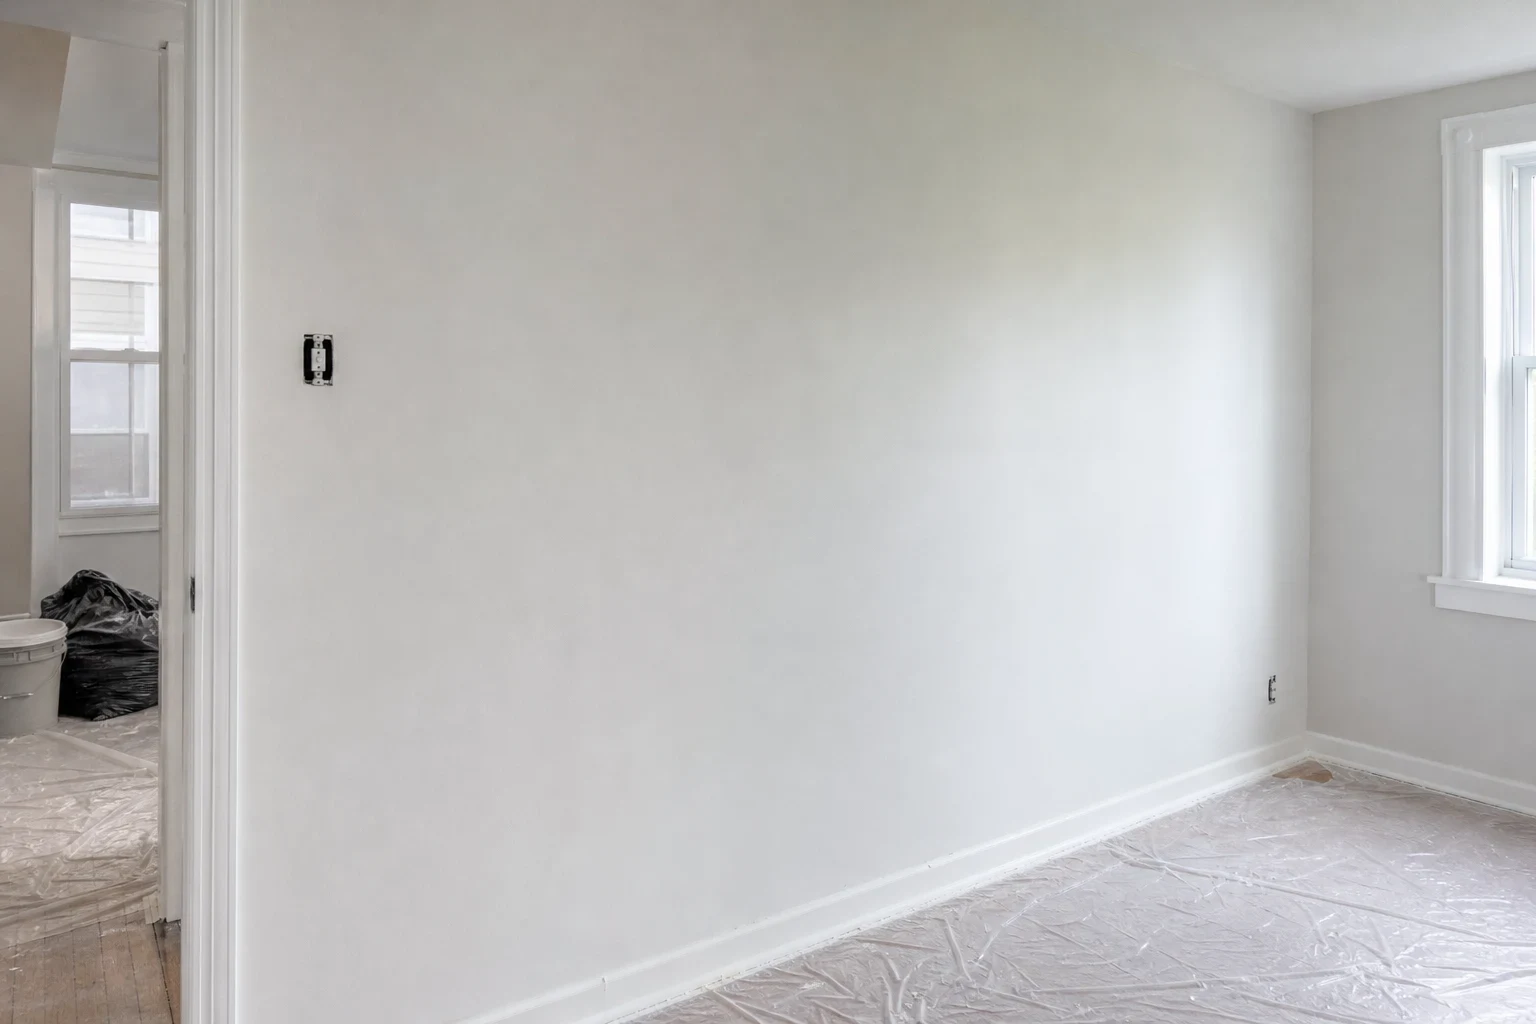
Get Your Walls Ready for a Clean Finish
Tell us about the rooms and the condition of the walls. We will set up a walkthrough and put the full scope and pricing factors in writing before any sanding starts.